Introduction to injection molding process guide, Injected molten plastic into mold, Combine metals and plastics
Introduction to Injection Molding Process
16 April 2023
- Preparing the inserts: cleaning, pre-treating, and positioning
Insert molding is a process used to combine different materials like metals and plastics in injection molding. In this process, the metal pieces are first clamped into position and then injected molten plastic into the mold. This ensures that the molten plastic completely surrounds and adheres to the metal insert. Before the inserts can be placed into position, they must be prepared to get the best results in adherence and the integrity of the final product.
Introduction to Injection Molding Process Guide
The first step in preparing the inserts is cleaning. You should ensure the inserts are thoroughly cleaned. You can use the chemical cleaning method to clean the inserts. Chemical cleaning uses chemicals to scrub and remove any stains on the inserts. This method depends on the type of inserts you want to use. You can also use ultrasonic technology or laser cleaning on the inserts to get much better results.
The next step is pre-treating. Pre-treating involves treating the inserts to avoid corrosion or rusting. This again depends on the materials used to manufacture the inserts. Some methods you can use during pre-treating include galvanizing, chemical plating and electroplating incase of metal inserts. For other materials, you can treat the inserts with suitable additives to protect them during molding.
The final step is positioning the inserts on the molds. Positioning ensures that the inserts are positioned accurately on the mold before injection. You can use guide pins, guide groves, and guide bushes for accurate positioning of inserts.
- Mold design and fabrication
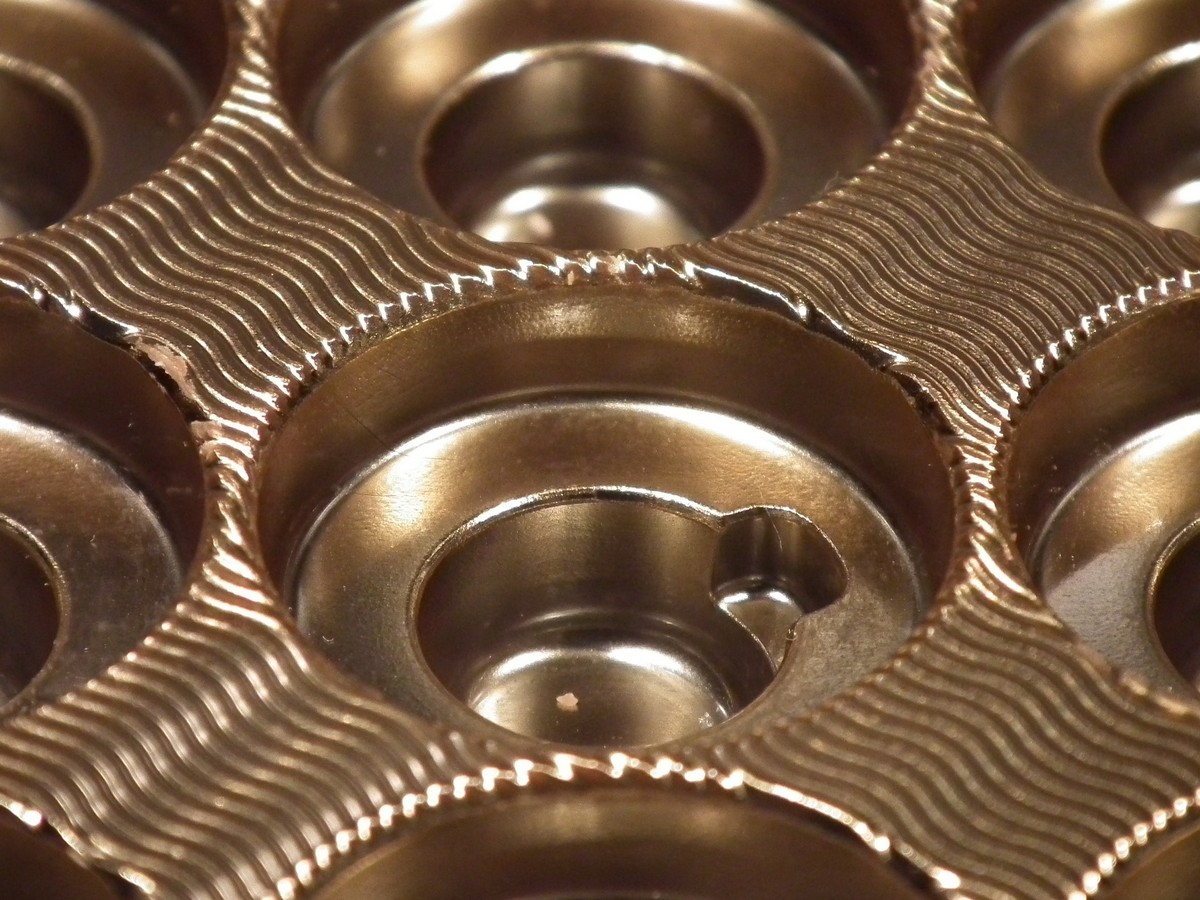
Before starting the injection molding process, you must prepare the mold itself first. Preparing the mold involves several processes: mold pattern design, CAD designing of the mold part, Virtual simulation for verification, fabrication, Assembly and production.
In the first step, the mold pattern is designed on paper. Here, the engineer sketches a rough idea of the mold pattern and adds the necessary details. In the next step, the engineer uses CAD software to create a 3-D design of the mold. All the important details are added to the 3D model of the mold. The engineer also runs several virtual simulations of the popular mold design. All mold flaws can be detected and corrected by CAD software. When the engineer is satisfied with the 3D model of the mold, he moves to the next phase of assembling the parts and fabrication of the mold.
During fabrication, engineers use rapid prototyping to produce prototypes of the molds for testing before mold manufacturing. These porotypes ensure the molds have the right shapes and dimensions. Engineers also use high quality CNC Machining to cut molds from metal parts such as aluminum and steel. Although CNC machining has a relatively high initial cost, it is the most accurate method for fabricating molds. Fabrication is one of the most important steps because it determines the quality of the final mold. After fabrication, the molds are ready for manufacturing and mass production.
- Injection molding cycle: clamping, injection, cooling, and ejection
The whole process of injection molding involves these steps as follows:
Clamping – Before injecting the molten plastic into the mold, you have to close the two halves of the mold and clamp them together to ensure they are tightly closed. Clamping the molds ensures that there is no leakage of the molten material during the injection. There are different machines and clamping mechanisms available for this task.
Injection – Injectors controlled by the molding machine inject molten plastic into the mold. The injectors are controlled hydraulically by the machine to regulate the rate of injection and the pressure with which the injection occurs. These factors are determined by the type of material being injected in the mold and the size of the mold.
Cooling – After injection comes to the cooling phase. Here, the injected mold is given time to cool inside the mold. As it cools, the plastic hardens and assumes the shape of the mold. During the cooling stage, the mold remains clamped. Different materials have different cooling time ranges to achieve the required characteristics after cooling.
Ejection – Ejection is the final step in the molding process cycle. Here, the mold is opened and the finished product is pushed out. Some molding machines have an ejection system to eject the finished products.
- Process optimization and control
Process optimization and control refer to continuously reviewing and improving the molding process to achieve the most efficient results. Process optimization is done through a series of steps that aim to refine the whole injection molding process. These steps target the quality of the molds and finished products produced, the efficiency of the molding machines and the process parameter ranges. By continuously improving these factors, the whole injection molding process is optimized and controlled to produce the highest quality of products at the least cost.
Some of the tips of optimization and control include:
- Quality control – Quality control is done via sample inspection. Instead of running a full production set of the products, samples are first produced and evaluated. These samples give insights about the molds’ quality, the molding machines’ operation, and the molding process’s efficiency. These insights help you adjust the molding process’s various aspects, rather than producing whole batches and evaluating them. This saves you production costs and time and reduces the defective product rate.
- Evaluation and testing of the molds – The molds are tested and inspected before production begins. Design and operational faults are identified and corrected before the mass production of the molds.
- Tool testing and adjustment – You can test various tool settings and adjustments for better results based on the information you collect from quality control. Regularly checking and testing the tools also inform you about their operation.
- Using a design of experiments (DoE) process – Design of experiments refers to a well-documented process that can be repeated and has constant results. These ensure that all the steps involved are well recorded so that it is easy to troubleshoot the process in case of any irregularities.
Comments / photos for the Introduction to injection molding process advice page welcome
Property Designs
Glasgow Architecture Designs – architectural selection below:
50 Bothwell Street Office News
50 Bothwell Street Office Redevelopment
Comments / photos for the Introduction to injection molding process advice guide page welcome
