Aerial installation on tiled roofs best practices advice, Property construction TV reception, Home installer
Aerial Installation on Tiled Roofs Best Practices
14 November 2023
The Best Practices for Aerial Installation on Tiled Roofs Advice Guide
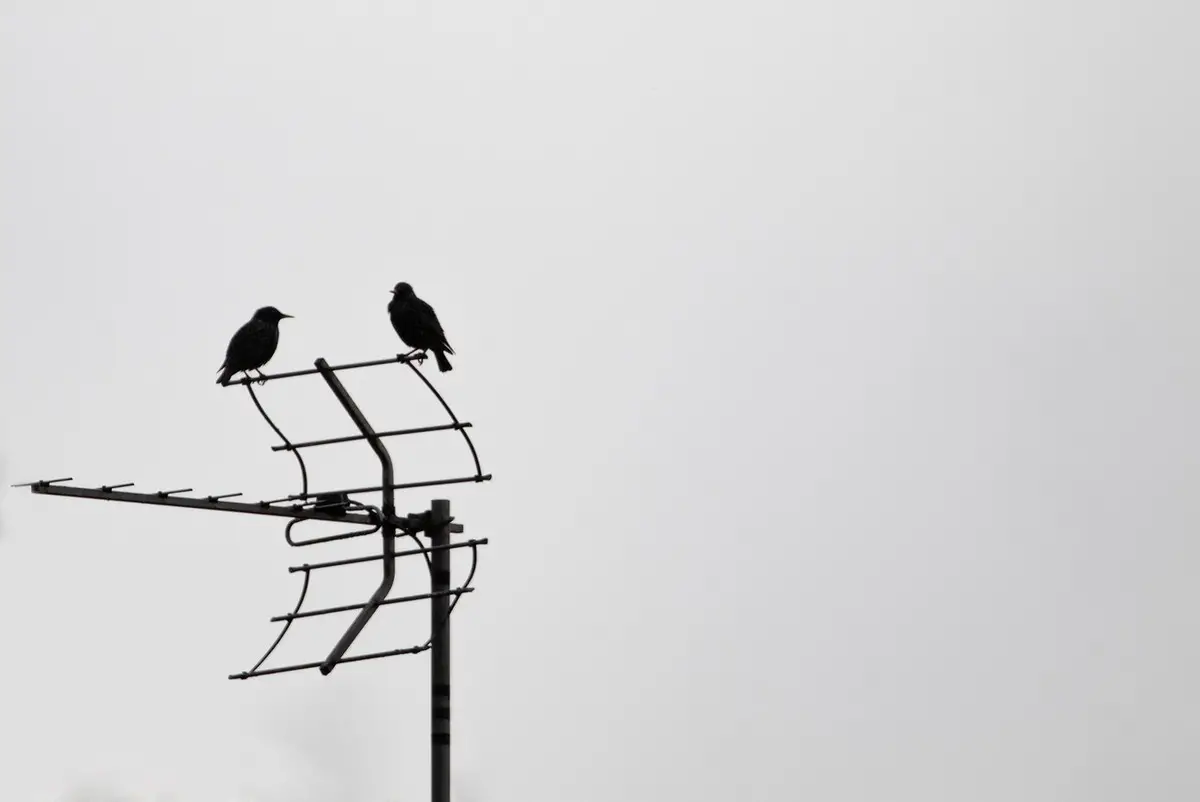
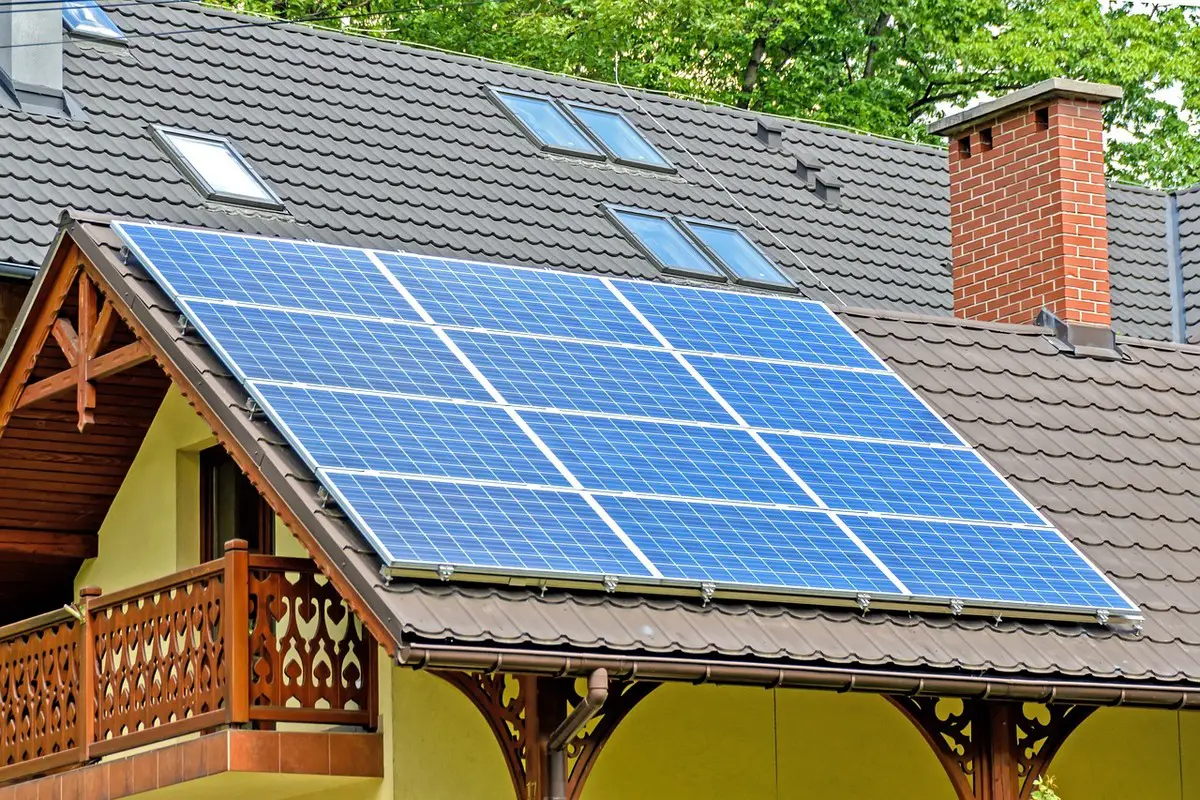
Aerial installation on tiled roofs can be a challenging task requiring careful consideration of various factors. In this article, we will delve into the best practices for aerial installation on tiled roofs, covering important aspects such as safety measures, equipment needed, best installation methods, and post-installation care.
Whether you’re a homeowner considering a DIY aerial installation or a professional aerial installer seeking to enhance your skills, this guide will provide valuable insights to ensure a successful and effective aerial installation on tiled roofs.
Safety Precautions and Considerations
When embarking on an aerial installation on a tiled roof, prioritising safety is paramount. The following safety precautions and considerations should be adhered to:
Assessing Roof Condition: Before starting the installation, it’s essential to assess the condition of the tiled roof. Look for any damaged or loose tiles that may pose a hazard during the installation process.
Use of Safety Gear: Installers should always wear appropriate safety gear, including non-slip footwear, harnesses, and helmets to prevent accidents and injuries at heights.
Weather Conditions: Avoid undertaking aerial installation during adverse weather conditions such as strong winds or rain, as this can increase the risk of accidents.
Safe Ladder Placement: Ensure that the ladder is securely placed on a flat and stable surface. Additionally, use ladder stabilisers or stand-off brackets to prevent damage to the tiles and provide additional stability.
Working at Heights: Installers should be trained in working at heights and follow best practices to prevent falls and accidents.
Equipment Needed for Aerial Installation
The next crucial aspect to consider is the equipment required for a successful aerial installation on a tiled roof. Here are the essential tools and equipment:
Aerial Bracket: Choose a robust and durable aerial bracket suitable for fixing onto tiled surfaces. Consider using a pole-mounted bracket if the tiles are particularly fragile.
Fixings and Anchors: Select appropriate fixings and anchors designed for tiled roofs to ensure a secure and stable installation without causing damage to the tiles.
Cable Clips: Utilize cable clips designed for outdoor use to secure the coaxial cable neatly along the roofline, preventing potential damage from exposure to the elements.
Drill and Masonry Bits: Use a suitable drill and masonry bits to create holes for fixings, ensuring precision and minimizing the risk of tile breakage.
Safety Harness and Rope: A safety harness and rope are essential for working at heights, providing an added layer of security.
Best Practices for Installation
When it comes to the actual installation process, following best practices is essential to ensure a professional and effective outcome. Consider the following tips:
Tile Examination: Carefully lift and examine tiles before drilling to avoid damaging any hidden cables or pipes beneath the roof.
Positioning of Aerial Bracket: Choose a suitable location for the aerial bracket, ensuring it’s positioned on a solid section of the roof and avoiding areas with weakened or loose tiles.
Drilling and Fixing: Use the appropriate drill bit size to create holes for the fixings, ensuring they are accurately placed and securely fastened to bear the weight of the aerial.
Cable Routing: Routinely check the coaxial cable’s routing to ensure it’s neatly and securely fastened along the roofline, minimizing exposure and potential damage.
Grounding and Signal Testing: Properly ground the aerial and conduct thorough signal testing to ensure optimal reception before completing the installation.
Post-Installation Care and Maintenance
After completing the aerial installation, it’s vital to consider post-installation care and maintenance to uphold the system’s functionality and durability. Here’s what to keep in mind:
Weatherproofing: Apply weatherproof sealant around drilled holes and fixings to prevent water ingress and protect the roof structure.
Regular Inspections: Periodically inspect the aerial installation to ensure fixings remain secure, and the cables are undamaged.
Annual Maintenance: Consider scheduling annual maintenance checks to evaluate the condition of the aerial, cables, and fixings, especially after severe weather conditions.
Aerial installation on tiled roofs best practices – Bottom Line
Aerial installation on tiled roofs demands meticulous attention to detail, adherence to safety protocols, and the use of appropriate equipment. By following the best practices outlined in this guide, installers can ensure a safe, professional, and long-lasting aerial installation that delivers optimal signal reception without compromising the integrity of the tiled roof.
Whether you’re a professional installer or a homeowner undertaking a DIY project, implementing these best practices will contribute to a successful aerial installation on tiled roofs.
Comments on this guide to IAerial installation on tiled roofs best practices – property TV reception kit installer article are welcome.
Glasgow Building Designs
Glasgow Architecture Designs – architectural selection below:
Comments / photos for the Aerial installation on tiled roofs best practices advice – best safety measures, equipment, installation methods, and post-installation care page welcome.